Installation
Introduction
Simplify Test Case Management with AgentQ's Powerful AI.
Streamline your testing with AI-driven test case creation and boost efficiency.
Key Features
✔ AI-Powered Automation - Leverage AI for test case generation and analysis
✔ Project Management - Organize tests into projects and test runs
✔ API Integration - Connect with 3rd-party tools via API
✔ On-Premise Ready - Self-hosted solution with Docker support
Installation with Docker
Get started with AgentQ Lite in seconds using Docker:
Preparation (Prerequisite)
-
Make sure you already install Docker (latest version recommended) & PostgreSQL (version 17 recommended)
-
Create new database with name : agentq_opensource
CREATE DATABASE agentq_opensource;
- Pull the latest version agentq image
# Pull the latest version
docker pull agentqai/agentq-lite:latest
- Run the agentq image
# Run the container
docker run -d -p 80:80 \
  -e DB_HOST=host.docker.internal or localhost or your_IP \
  -e DB_PORT=5432 \
  -e DB_USERNAME=your_db_user \
  -e DB_PASSWORD=your_db_password \
  -e DB_DATABASE=agentq_opensource \
  --name agentq \
  agentqai/agentq-lite:latest
Getting Started
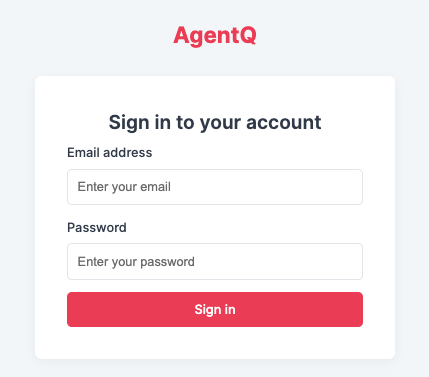
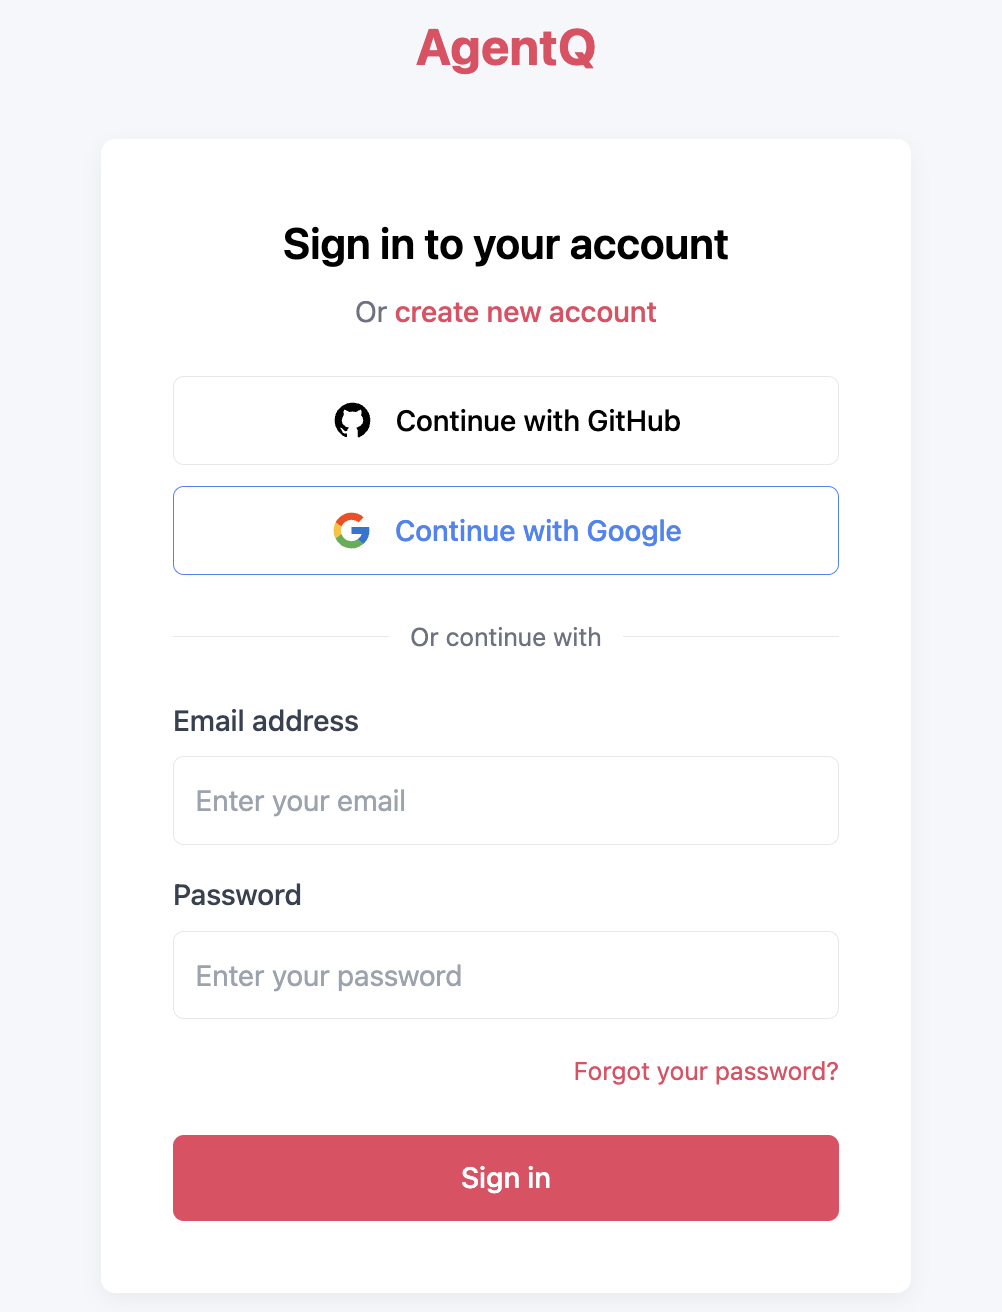
Access the AgentQ
Access the web interface at:
http://localhost:80 (after Docker installation)

Credential (default)
admin@agentq.id
- Password
agentq
How to Use
Projects
- Create projects to group related test cases
- Set project-specific configurations
Test Cases
- Design manual or AI-generated test cases
- Add steps, expected results, and tags
Test Runs
- Execute test cases in batches
- Track pass/fail status and metrics
API Key Setup
- Go to Settings > API Keys
- Paste your key from agentq.id
- Save to activate AI features
Get Your API Key
To unlock AI features:
- Sign up and sign in at agentq.id

- Navigate to API Keys in your dashboard
- Copy your unique key

3rd-Party Integrations
Connect with:
- Confluence (Atlassian)